


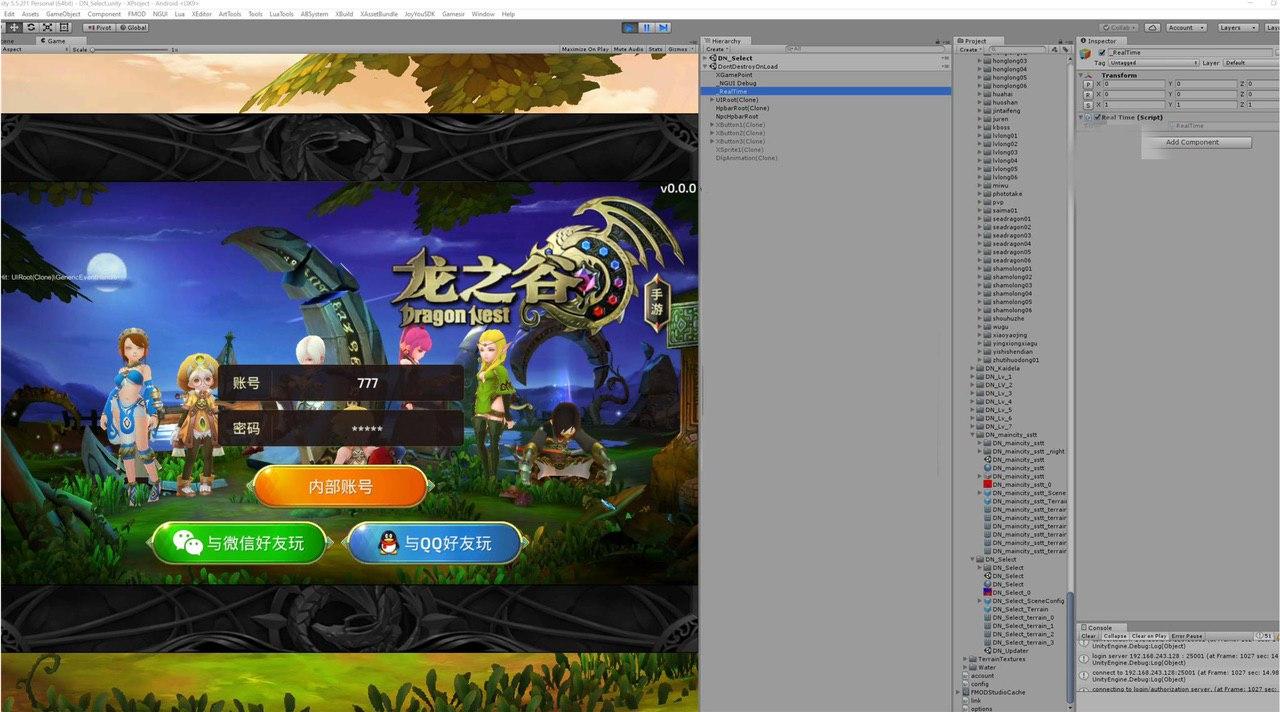
The files contains both the Client and Server Files which uses C++. Don't worry for the language since there is a settings in game wherein you can change it's language.
INSTRUCTION
- Step 1: Modify the ip in the database.
Start the apache and mysql server, run phpStudy.exe in Administrator.\LinkoLabs\lzgserver\phpStudy\
Screen : https://prnt.sc/q3ewok
Screen : https://prnt.sc/q3f1i5
Result : https://prnt.sc/q3f2au
Open Navicat and connect you in mysql to the serveur.
Screen : https://prnt.sc/q3f3my
Screen : https://prnt.sc/q3f4gg
Password is : "gudanboke"
Once the connection is successful go to the database "Login" then the table "GateInfo".
Screen : https://prnt.sc/q3f6c3
Edite the IP URL witch your IP :replace to 192.168.X.X or extern ip dans save the table.Code:192.168.99.99
Screen : https://prnt.sc/q3f8q5Screen : https://prnt.sc/q3f96l
Step 2: Configure the .apk file
Copy the DN.apk file found in the APK folder to the APKtool folderRUn the Command Prompt and paste this :Wait for the end of the decompilation...A new folder named Dn is in the APKtool folder, it contains the source code.Code:apktool d -r DN.apk
Screen : https://prnt.sc/q3fdh5
We need to edit the following fileScreen : https://prnt.sc/q3fvbcCode:\ApkTool\Dn\assets\config.cfg
Open the file config.cfg width UnityEx available to APKtool folder
.Screen : https://prnt.sc/q3fwf8
Open Archve and add config.cfg
Screen : https://prnt.sc/q3fwqo
select the two files of the list then export as the dissolved example :
Screen : https://prnt.sc/q3g57y
Now let's get the exported files back and edit the config.txt files
the exported files can be found here Unity_Assets_Files
Screen : https://prnt.sc/q3g632
Check the config.txt file and edite :
Replace your IPOnce the changes are done, import the files with UnityExCode:185.163.125.60:25001|185.163.125.60:25001|185.163.125.60:25001|185.163.125.60:25001|185.163.125.60:25001|185.163.125.60:25001|185.163.125.60:24001|http://res.dnvn.mobi/UpdateEN/|False|185.163.125.60:25001|185.163.125.60:25001|185.163.125.60:25001|185.163.125.60:25001|185.163.125.60:25001|185.163.125.60:25001|185.163.125.60:24001
Screen : https://prnt.sc/q3g76m
It is now time to modify the .dll and finish with our file. apk!
The file we have now changed is here:Screen : https://prnt.sc/q3ghh4Code:ApkTool\Dn\assets\bin\Data\Managed\Assembly-CSharp
right click and open with ... DNSpy
Screen : https://prnt.sc/q3ghxu
Screen : https://prnt.sc/q3gilx
Screen : https://prnt.sc/q3gjgc
Research " XPlatform" class.
Screen : https://prnt.sc/q3gjpk
Screen : https://prnt.sc/q3gk2d
Change the research filtre to "class"
Screen : https://prnt.sc/q3gkem
Open the class
Screen : https://prnt.sc/q3gkyw
The code is open :
Screen : https://prnt.sc/q3gm0w
go to the bottom of the code and right click on the ip then made:
Screen : https://prnt.sc/q3gmwo
Edite your IP in the file and clic ok
Screen : https://prnt.sc/q3gn84
After save all
Screen :https://prnt.sc/q3gnns
The .apk file is finally over, let's move on to recompilation
Now open the APKtool folder, just as the first extraction open the prompt commade and type the following line :OrCode:apktool b Dn
Wait for the end of the compilation the file is now here:Code:apktool b -r dn
ApkTool\Dn\dist\Dn.apk
Rename to Dn1.apk and cut the file and paste it into the root folder apktool.
Screen : https://prnt.sc/q3gsbm
Let's go to the signature and it will be finished for the configuration!
let's go to the command prompt and type the following line:Wait for the end of the signture and you will find your folder at the root of the APKTool folder!Code:java -jar SignApk.jar testkey.x509.pem testkey.pk8 Dn1.apk Dn1_sgn.apk
Screen : https://prnt.sc/q3h12x
*Please install Bluestack no Nox Emulator for use !
Step 3 : Lunch and stop the server.
- Make sure PhpStudy is on.
- For start the server use the start.batch in the folder
Screen : https://prnt.sc/q3h8jg
Register you in the webserver or database Login -> users.
URL http://127.0.0.1/register
VIDEO TUTORIALS:
DOWNLOAD
Client and Server Files are already in the same link above
0 comments:
Post a Comment
Your comment will be visible to everyone, please comment politely and don't use bad words.